SConfig - Configuring Windows Server 2019 Server Core - Change Computer Name, IP Address, Windows Updates, Domain Join, Remote Desktop etc.
In the previous post we installed Windows Server 2019 Server Core:
https://eyeteahero.blogspot.com/2019/05/installing-windows-server-2019-server.html
Windows Server 2019 Server Core can be configured easily with a VB Script that launches via WScript called SConfig. This is a handy tool since Server Core does not have a GUI and you need to know your PowerShell cmdlets.


 A message will appear confirming your settings, click OK


 Type domain\username of user ID with permission to join a server or computer to the domain then hit enter


Join us in our next blog where we will be promoting our server core server to domain controller:
https://eyeteahero.blogspot.com/2019/05/installing-adds-role-and-promoting.html
Additional resources:
https://eyeteahero.blogspot.com/2019/05/installing-windows-server-2019-server.html
Windows Server 2019 Server Core can be configured easily with a VB Script that launches via WScript called SConfig. This is a handy tool since Server Core does not have a GUI and you need to know your PowerShell cmdlets.
SConfig - Configuring Windows Server 2019 Server Core
Log into your Server Core server with the administrator ID and password then type
- sconfig
Change Computer Name in sconfig
At the main menu type option 2
Type the computer name you want to use then hit enter
A message will appear telling you to restart to apply the changes, click Yes
Change Network Settings in SConfig
Type option 8 at the main menu
Enter the number for the adapter that you want to change the IP address for and press enter
Type 1 then press enter
Type S for static then press enter
Type the static IP address, subnet mask, and default gateway pressing enter each time
Type 2 to enter the DNS sever then press enter
Type the IP address of the DNS server that you want to use and press enter
A message will appear saying preferred DNS server set, click OK
Type a second DNS server that you would like to use then press enter, or simply press enter and leave it blank to not use a second DNS server
Type 4 and hit enter to return to the main menu
Change Date and Time Settings in SConfig
Type 9 then press enter
The GUI menu you recognize from the deskop experience will appear. Change the settings as appropriate then click OK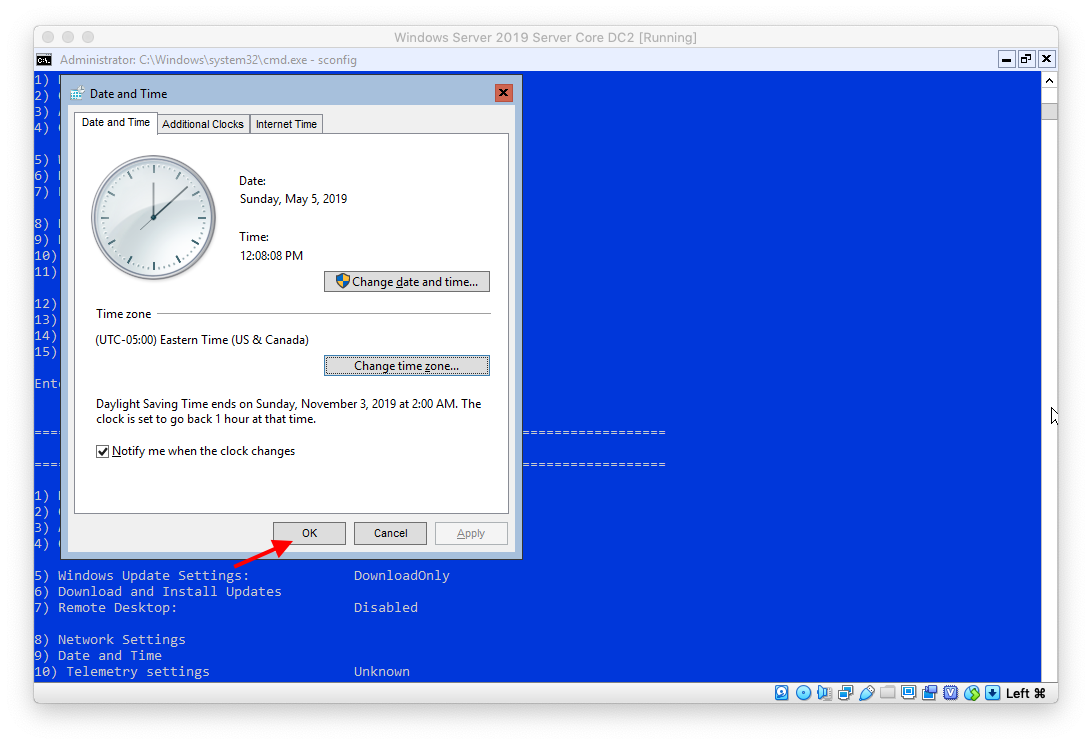
Change Windows Update Settings in SConfig
Here we will change Windows Updates to manual. Type 5 and press enter
Type 5 then press enter. Type M then press enter.
A message appears saying that the system is set to manual and will never check for updates. Click OK
Enable Remote Desktop in SConfig
Type 7 then hit enter. Type E for enable
Type 1 for the more secure setting then hit enter
A message will appear confirming your settings, click OKJoin a Domain Using SConfig
Type 1 then press enter
Type D for domain then hit enter
Type your domain then hit enter
Type domain\username of user ID with permission to join a server or computer to the domain then hit enter
Enter the password for the user ID specified in the previous step
Click no as we changed the computer name in a previous step already
Click Yes to reboot now
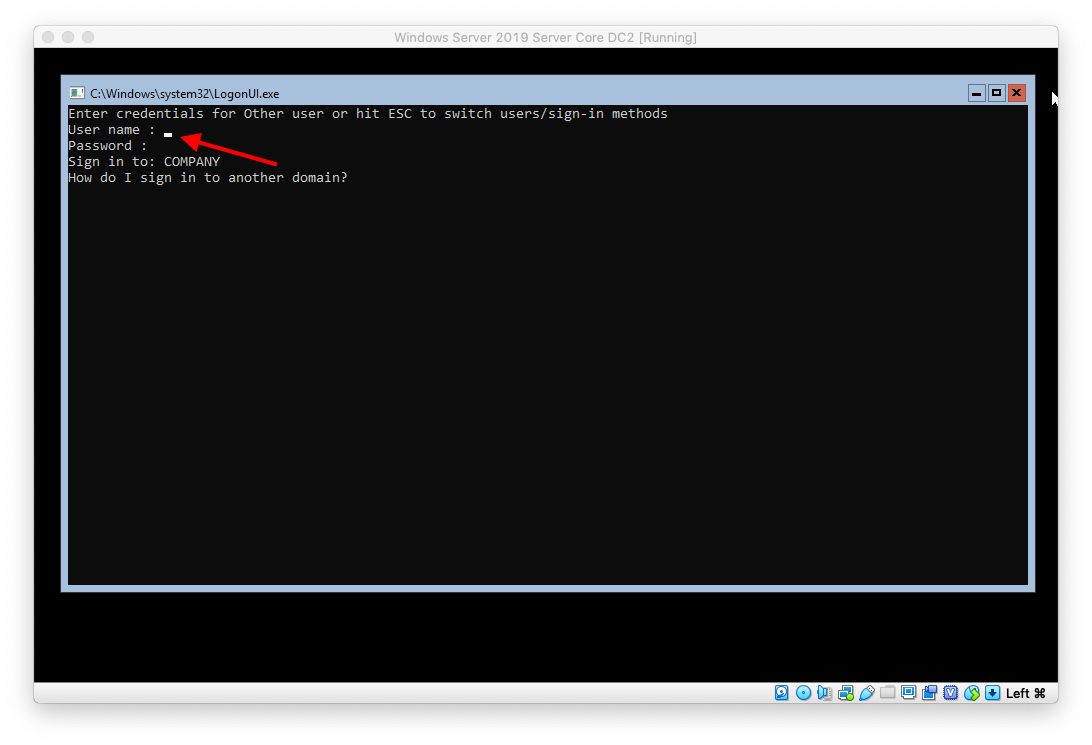
After the reboot and hitting esc to switch user you see that you can now log into your domain
Join us in our next blog where we will be promoting our server core server to domain controller:
https://eyeteahero.blogspot.com/2019/05/installing-adds-role-and-promoting.html
Additional resources:

